Guide for Troubleshooting
Common Radiator Problems
For the most part the radiators in your home will need very little maintenance and will typically work for years without much intervention. However, occasionally a radiator can go wrong, and problems can occur. Unfortunately, you do not tend to use your radiators unless you really need them, and therefore don’t notice issues until you’re without heat.
This guide has been put together to give you some advice on how to trouble shoot and solve some of the common causes and problems that may occur with your hot water radiator, saving you the need to call out a professional.
Cold Radiators
One of the most common problems that affects a radiator is that it does not warm up when needed or can be half cold. In these situations, the very first thing to check is if it is an isolated issue with one radiator, or if it is affecting all the radiators in your home. If all the radiators in your home are cold then there seems to be an issue in the system. It is highly unlikely for all your radiators to break at once, so you can assume it’s a wider issue.
It may sound obvious, but it’s also a good idea to check if the valves have been turned off too. It may also be worth having a look at your hot water and heating system to ensure that they’re working well too. Again, it is common to simply turn off the heating completely through the summer and then forget about turning it on again in the colder months. Is the thermostat set at the correct temperature or has it been switched off or turned down? Sometimes the most obvious and simplest thing is the cause of the problem so it’s best just to be aware that it might be something simple.
If checking the valves, thermostat and boilers did not help resolve the radiator heat issues, then it might be time to call a professional in. If you are not trained in boiler servicing or repair, you can make some costly and potentially dangerous mistakes.
Is the Problem With Just One Radiator?
If you find that most of your radiators are working and it is just a solitary unit that is not producing any or adequate heat, then you can assume that the problem lies within the radiator itself.
In this situation the first thing to check is whether the entire radiator is completely cold or whether there is some heat being generated.
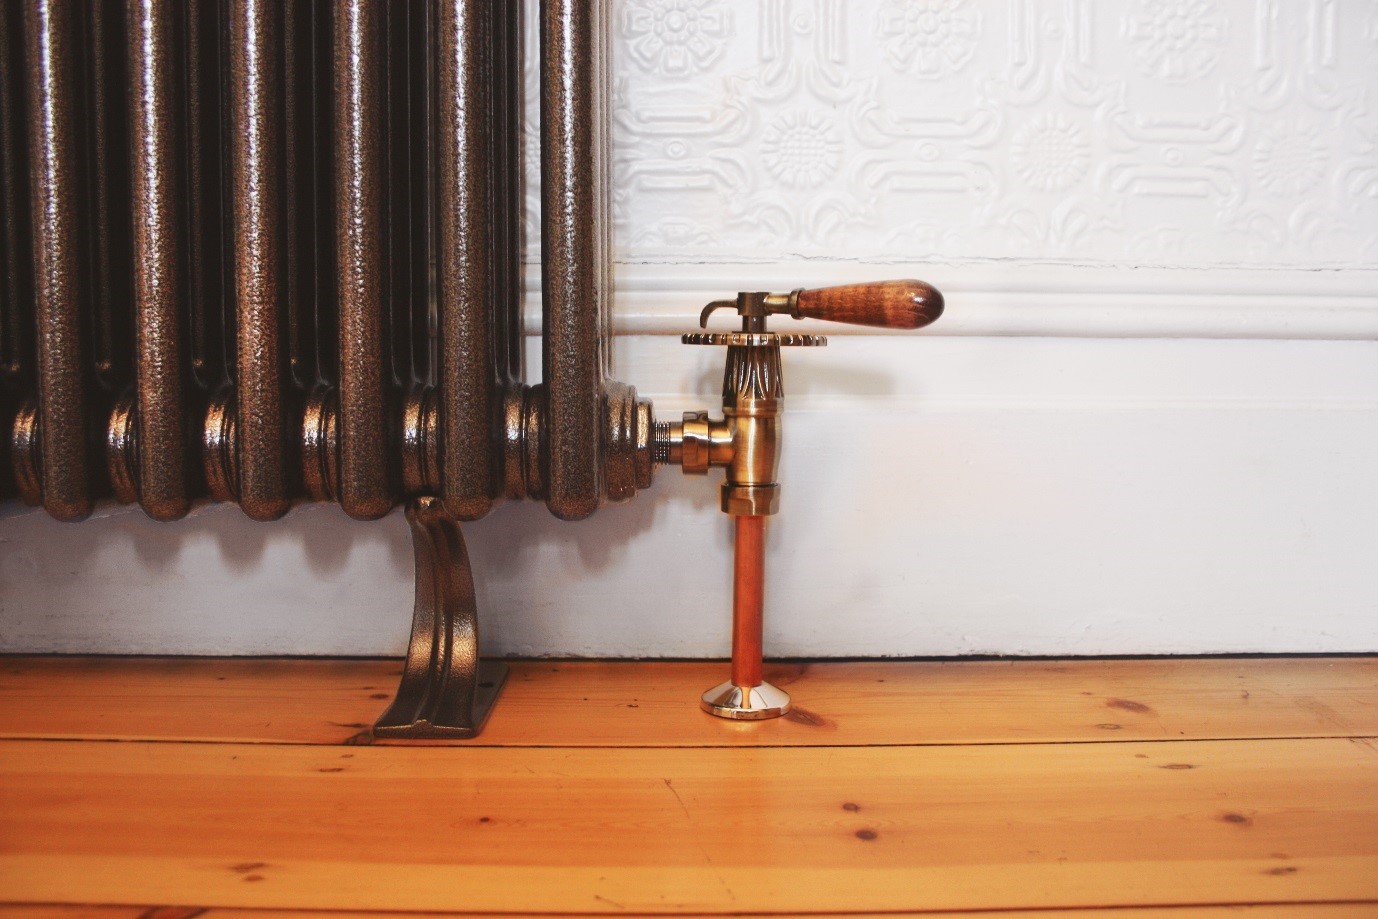
If the radiator is completely cold, then the first thing to check is whether the valves on both sides are switched to the open position. As we’ve mentioned previously, the most common reason for a cold radiator is because it is switched off at the valve. If both the valves are open, then the next thing to check (if your radiator is fitted with one) is if the thermostatic valve is working correctly. Another common issue that can occur over time, is that the valve pin can get stuck in the off position and prevent the radiator from generating heat.
The way to fix this is to initially remove the thermostatic valve head to check whether the pin is stuck. You can remove the head mechanism from the thermostatic valve either by unscrewing by hand (if it is loose enough) or using some pliers or grips to loosen the head from the valve.
Once the head is off the thermostatic radiator valve then you will see a metal pin within the valve. This should be in the fully up position, and you should be able to press it down and move it freely back and forth. If the valve is in the down position or is stuck in the half way position then you have a sticky valve and this will need to be repaired. In some situations, simply ‘freeing’ up the valve with a tap of a hammer, or by moving it gently up and down with pliers may be enough to fix the problem. Remember to reign in the brute force! Tap and not hit is the key phrase here. If the valve is truly stuck, then you may need to replace the valve. Whilst this job is straight forward, some people may wish to get a plumber in to do the job so not to cause any future issues.
Radiator is Just Warm at the Bottom
If your radiator is only warm at the bottom, then the most common problem is that the radiator has trapped air, and it needs to be ‘bled’. Bleeding a radiator is simply the process of letting air escape from the radiator. Cold spots on the radiator are normally caused by this trapped air. It is fairly common to have to bleed a radiator from time to time and it will save you time and money to be able to do it yourself.
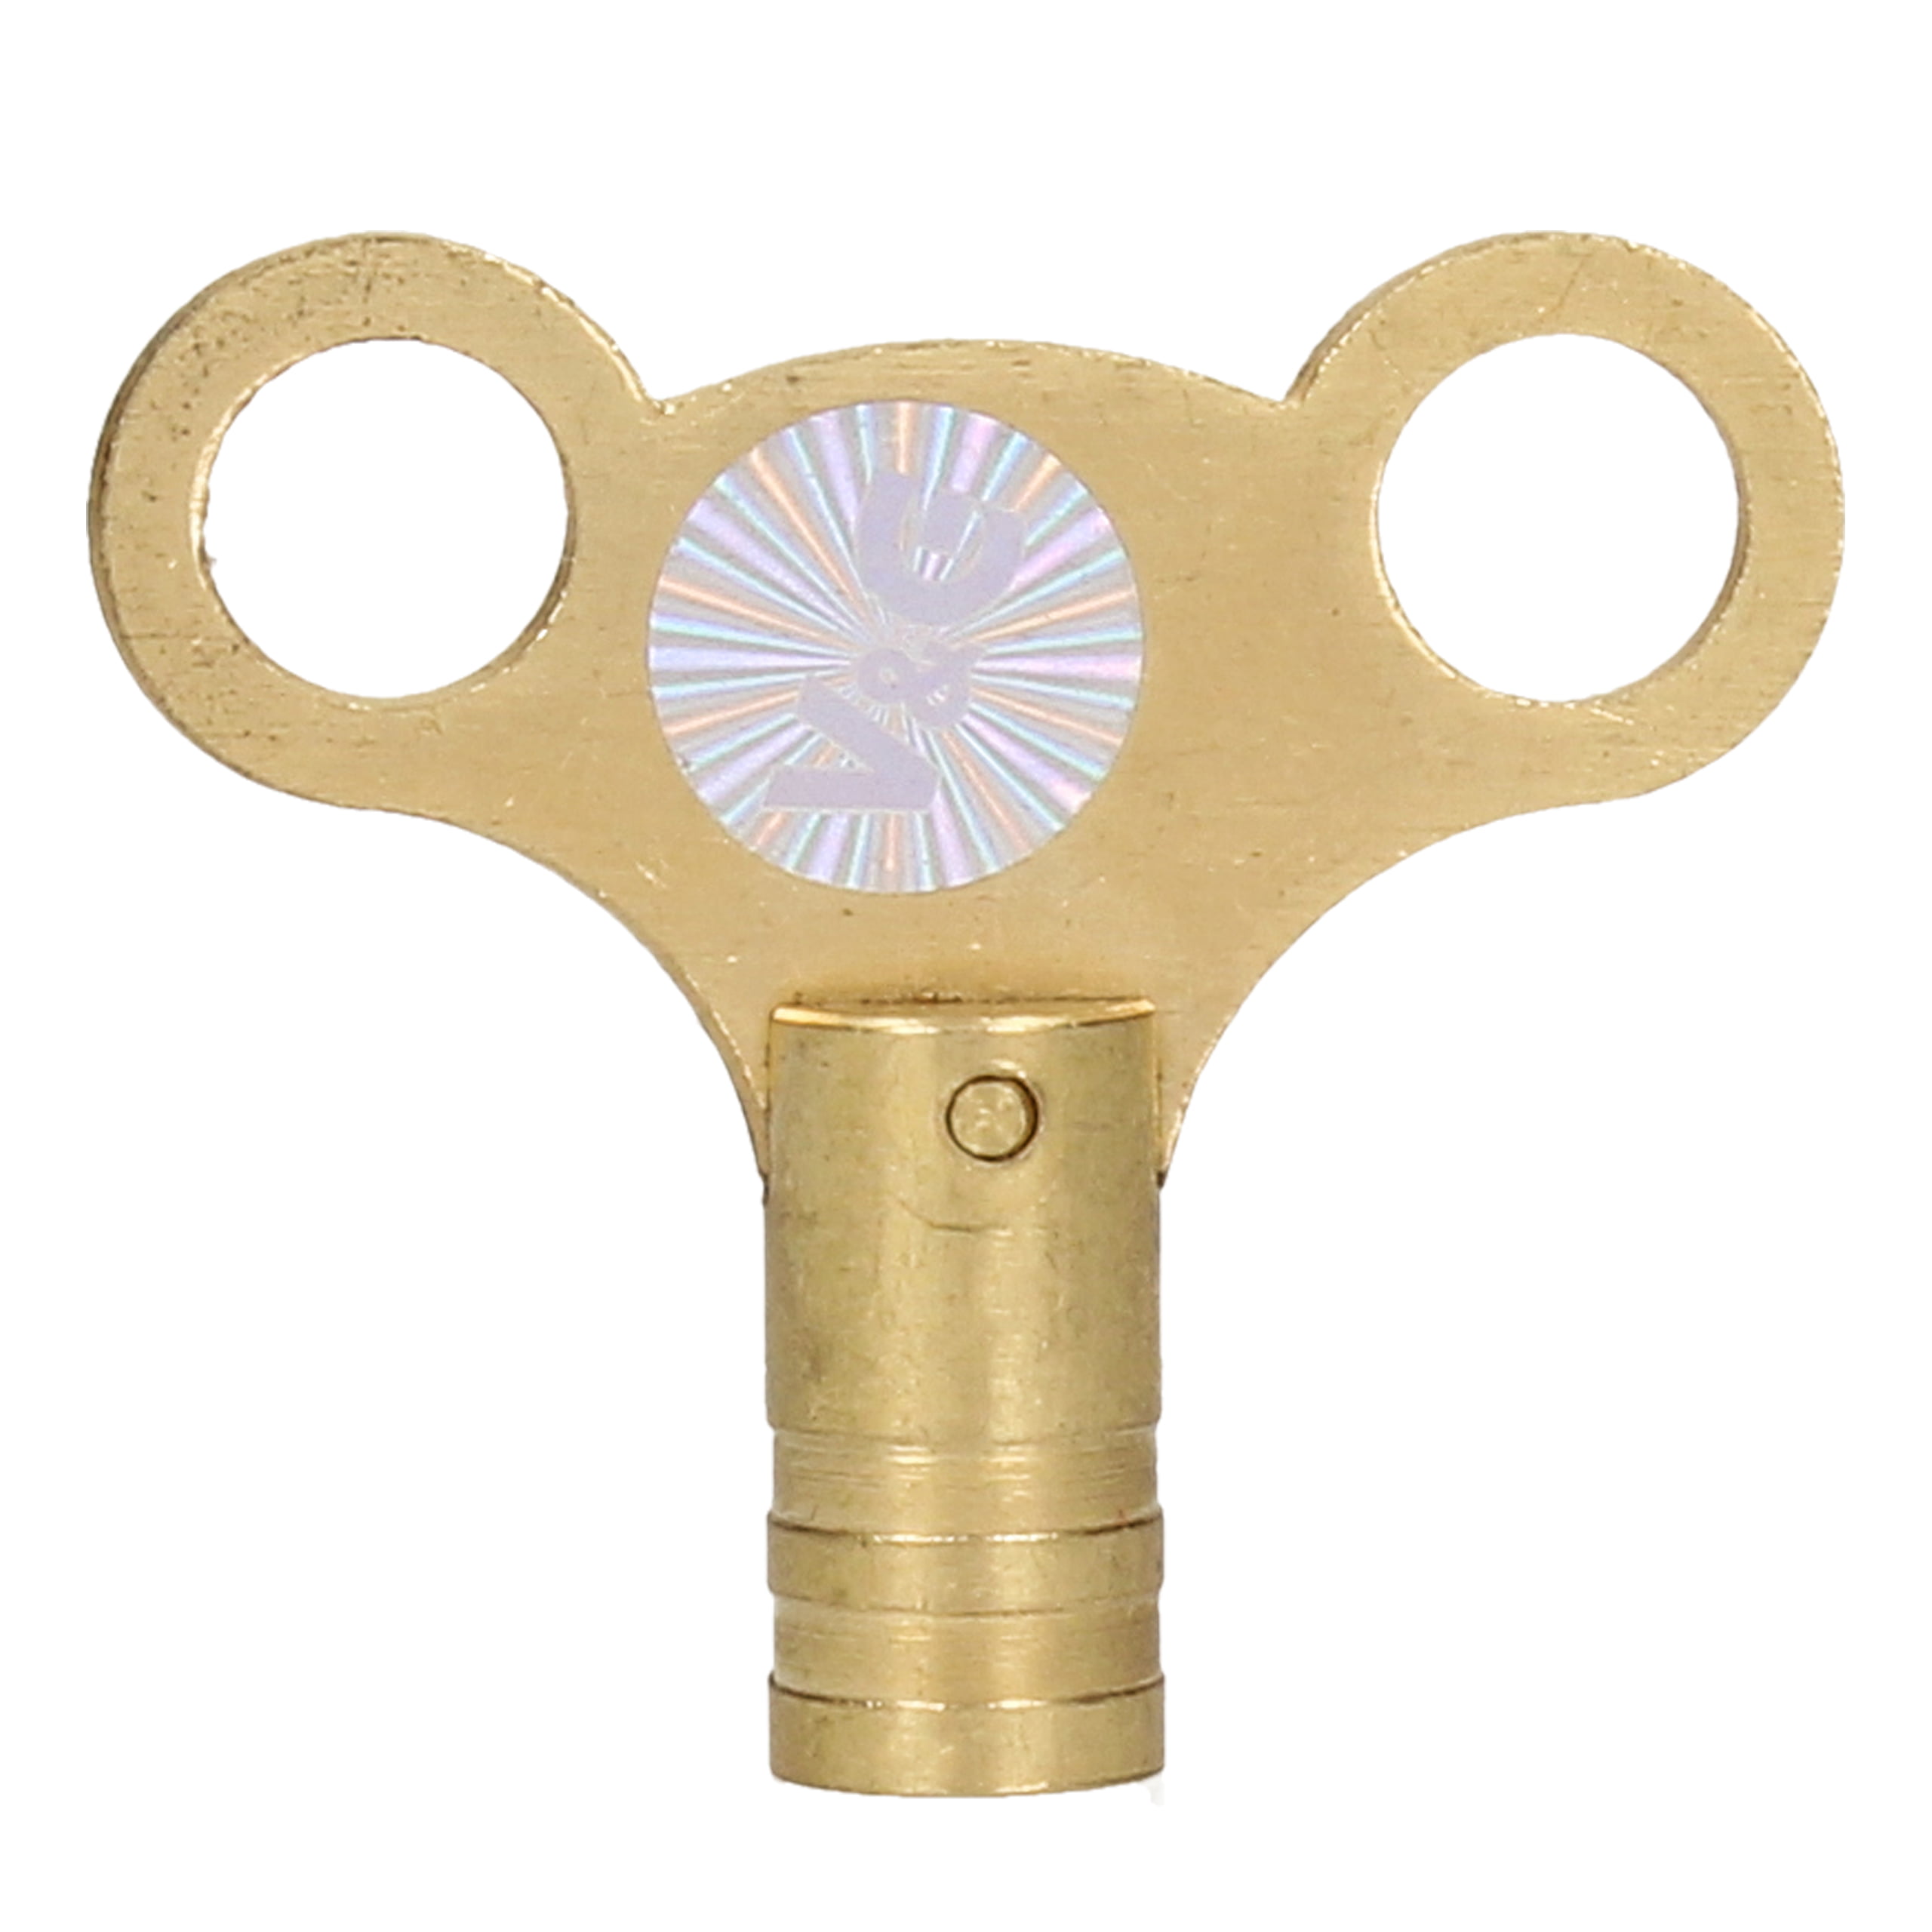
Typically, you will need to use a radiator key to bleed the radiator. A radiator key is a small tool that has been specifically designed to make bleeding a radiator easy. These can be purchased here at radiator-air-vent-key
This key will fit the small valve that is located at the top of the radiator. Some valves are designed to use a socket or a screwdriver. Use which ever tool is appropriate for your own system, there are also lots of tutorials on YouTube if you are struggling.
How to Bleed a Radiator
To bleed a radiator, firstly ensure that the heating system is switched off. This is an important step to prevent any rogue hot water from scalding you. Do not forget to allow enough time for the central heating system to cool down. Your radiator may not be that hot, but the water inside it may be.
When you bleed a radiator to let the build up of air to escape from the system you will also likely release some hot water along with it. The best way to deal with this is to have a bowl and old cloth handy to mop up any drips. Some water will most likely be released from the system so if there any perishable or electrical items in the vicinity then they will need to be moved out of the way.
Slowly open the bleed valve, anti clockwise with the radiator key. You should hear a hissing sound as the air escapes from the system. Eventually some water will start to be released and this is your cue to tighten up the valve again, with a clockwise turn of the key. When water starts running that means that you’ve got rid of the air.
When you release water from the system you may end up lowering the overall pressure in the system. This may mean that you need to add more water to the boiler. This might need to occur during or even after the bleeding process. If you are unfamiliar with how to do this or how your specific system works, then it might be worth calling for an expert to help you. It’s always recommended to bleed all of the radiators in your home at the same time to prevent any knock-on effects. Practically it can save time further down the line too.
Bottom of the Radiator is Cold
If the bottom of the radiator is cold but the top is warm, then this might be indicative of a more serious issue with your radiator.
Generally, when this situation crops up it means that there is a layer of sludge within the radiator and that will need to be cleared out, and worst-case scenario the radiator may need to be replaced. If you are confident with your plumbing skills, then it is possible to carry out this job yourself. However, it should be noted that to clean out the radiator it will need to be disconnected and removed from the wall. Since radiators are filled with water this means that quite a lot of water will be released as the radiator is removed. Unless you’re a plumber or have experience removing radiators, we would suggest getting the professionals in as it can be a messy job.
If you get a plumber in to clean out your radiator, most likely they will use a professional tool called a power flusher. For those who would still prefer to do the job themselves, the first thing to do is to isolate the radiator from the rest of the system. This is done by switching off the valves or TRVs at both sides of the radiator. Then using your bleed key, open the air vent at the top of the radiator until the water stops dribbling. This means that the radiator is then isolated correctly at the valves. At this point, remember to close the air vent again.
Place all your towels under the radiator and then slacken off the nuts on the inside of the valves that attach the radiator to the valves. Some water may drip out so the towels will be useful. Once the nuts are loose then flip the radiator down on the floor, so the top is resting on the ground, whilst it’s still attached loosely to the valves as this may prevent water spillage. When the radiator is in this position you are now free to remove the nuts completely and lift off the radiator, upside down so as not to spill the water that is still inside it. This might not be possible for large radiators as they will be heavy. In addition, how easy this is depends on the position of the pipes and how the radiator was previously fitted. In these instances, an affordable radiator drain kit might be worth investing in.
Next step is to find an appropriate place to empty out the radiator. A garden or back door would work well, as in the next step you will need access to a hose and water. Once the radiator no longer contains water, you will need to blast through the radiator with a hose to clear out the sludge inside. We suggest doing this at both openings so to ensure that sludge no longer exists within it. Once this has been done to your satisfaction then you will need to reverse the process to re-attach it to your wall. Don’t forget to bleed the radiator after as it will be full of air.
My Radiator is Leaking
If your radiator is leaking, then the solution is dependent on where the leak is coming from. If it is coming from one of the valves or one of the connectors, then it might be possible to tighten up the connections with a wrench to fix the leak.
If the water is coming from the radiator itself then you will need to isolate the leak by turning off the valves to minimise the discharge and either repair or replace the radiator. Leaking radiators can be a messy and complicated job, so again we wouldn’t recommend trying to diagnose an issue yourself.
My Radiator is Noisy
Clanking pipes or noisy radiators are caused by the lack of room that has been left for them to expand and reduce as they get hot. If this is the case with your heating system, it might be worth getting a plumber in to help diagnose and resolve the issues. In some instances, plastic piping can help because of the flexibility that plastic has over copper. In other cases, some basic adjustments can be made to the system to help reduce the noise.
How to Clean a Radiator
Generally cleaning a radiator is straight forward.
For general spring cleaning the best way to clean a radiator is firstly to vacuum it regularly to keep it as dust free as possible. Use a dust cloth and push through the grooves and gaps in the radiator to brush off as much dust as you can. Then you can simply use soap and warm water to wash the radiator and clean it. Remember to dry off the radiator with a dry cloth to avoid any potential for corrosion. It goes without saying that its best to clean when cool, the end of summer when you’re thinking about using them again is a great time to make sure they’re spotless.
Next Steps & Finding a Professional to Fix Your Radiator
If these common faults and issues do not cover your issue or do not help rectify the situation with your heating system, then getting a professional to look into the problem further would be your best course of action. Generally, most issues with a faulty radiator can be resolves fairly quickly and cheaply, however if the problem lies with the boiler, then there may be a more serious problem that will need to be dealt with.
If it is a radiator from ColumnRads, you can of course contact us for more info. All our products are guaranteed for a minimum of 1 year (radiators 10 years, copper tube 25 years) but many offer longer warranties from the manufacturer, which you may need to register for.